Lighting is where a beginner thinks they have to spend, and where they have almost nothing to buy. A window covers nearly everything commissioned in UGC.
You still need to know at what hour. And on that point, the advice in circulation is written for the northern hemisphere, so it is out of step.
Your light is inverted, and harder
Guides recommend soft morning light in summer and a south-facing window. There, both pieces of advice are wrong.
The southern summer falls in January, when the sun climbs very high: midday light turns vertical and cutting, it digs shadows under the eyes and burns the whites. It is the worst moment to film a face, and often the only free slot in a working day.
Winter arrives in July, short and low on the horizon. The light is softer and longer, but the usable window closes early: what was shot at six in the evening in January has to be shot at three in July.
And orientation flips. In the southern hemisphere it is the north-facing window that gets direct sun. A south-facing window gives the indirect, stable light every northern guide attributes to the opposite exposure.
The two recurring mistakes
The ceiling light on. It creates a shadow under the eyes and a yellow cast the edit cannot cleanly recover. Turn off everything coming from the ceiling and keep one source.
Backlight. Standing with your back to the window is the most frequent error: the camera exposes for the background and the face becomes a silhouette. Turn around, the window should be in front of you or slightly to the side.
What is worth buying, and in what order
Nothing, at the start. A window and a light wall do the job.
Then a diffuser: a thin white curtain, a tablecloth, a sheet of tracing paper stretched over the glass. That is what turns hard summer light into usable light, and it costs the price of a curtain.
Then a reflector to fill the other side of the face: a white board on a chair is enough.
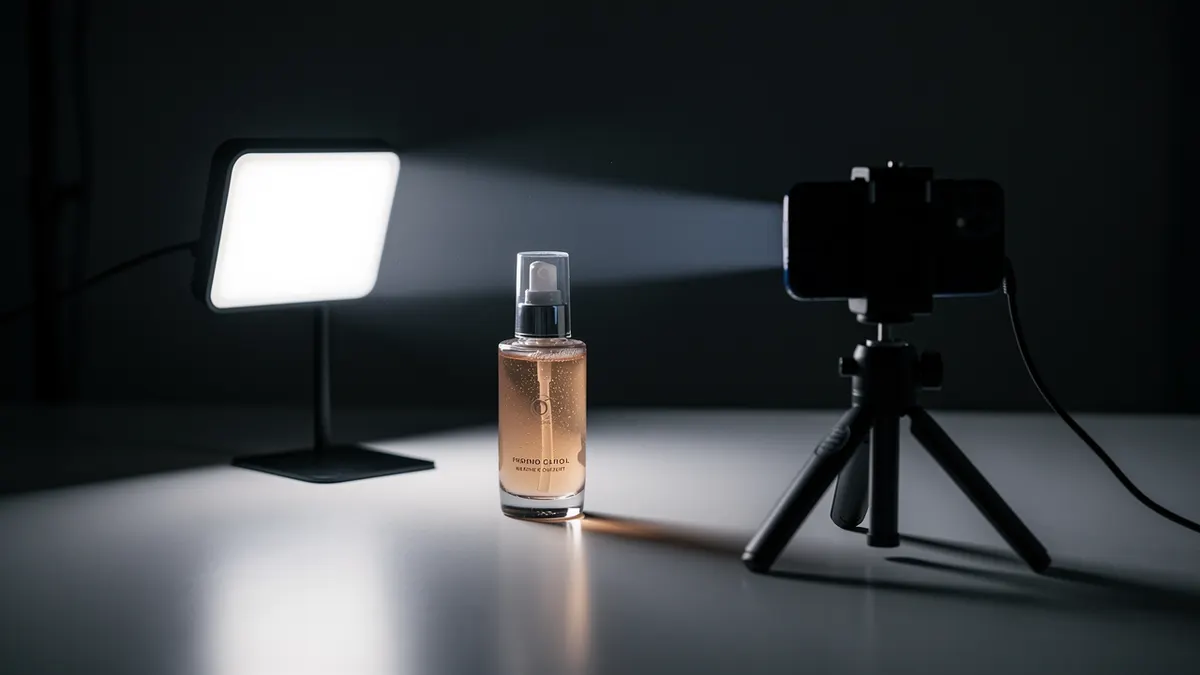
A light panel is only justified if you regularly shoot in the evening, for hospitality or nightlife brands for instance. Buy it then, not before, and pick one with adjustable colour temperature: it is the only setting that matters for matching the light of the room.
Matching several takes
A video shot in two sessions changes colour in the middle, and that shows more than any framing flaw.
Two habits are enough to avoid it. Lock the exposure and white balance on your phone before the first take, instead of leaving them automatic. And note the time of the first session: picking up at the same hour the next day gives a perfect match with no settings at all.
How to spot bad light before recording
Seven signs visible in the frame.
A hard shadow cutting across the face.
A colour cast coming off a wall.
Two light sources of different colour in the same shot.
A highlight on the forehead that follows every move.
A background brighter than the person.
An eye with no catchlight at all.
And a product whose colour does not match the real one.
What each source gives
| Source | Look | Limit |
|---|---|---|
| Window, full daylight | Soft, natural, free | Changes within thirty minutes |
| LED panel | Constant, adjustable | Can flatten faces |
| Ceiling light alone | Hard shadows under the eyes | Switch it off almost always |
What is set before pressing record
The position relative to the window, a locked white balance, a clear background, the person a metre from the wall.
What betrays failed lighting
A skin tone that shifts mid-take, a white highlight on the forehead, a product colour that no longer matches.
The case of the product
A face and an object do not want the same light. The face wants soft and frontal, the product wants a little from the side to reveal texture and relief.
In practice, shoot the product after the face, simply moving the table thirty centimetres towards the window side. It is the most profitable gesture of the whole session, and it costs nothing.
Sources
Checked on 4 September 2026. Thresholds and rates change: where this guide and the official source disagree, the official source is right.