Here the problem is almost never a lack of light. It is having too much of it, and not knowing how to dose it.
The window first
Before any purchase, the main source is already at home.
A north-facing window gives a stable light all day. A south-facing window gives a lot of light and a lot of problems: hard contrast, marked shadows, rapid change with the hour.
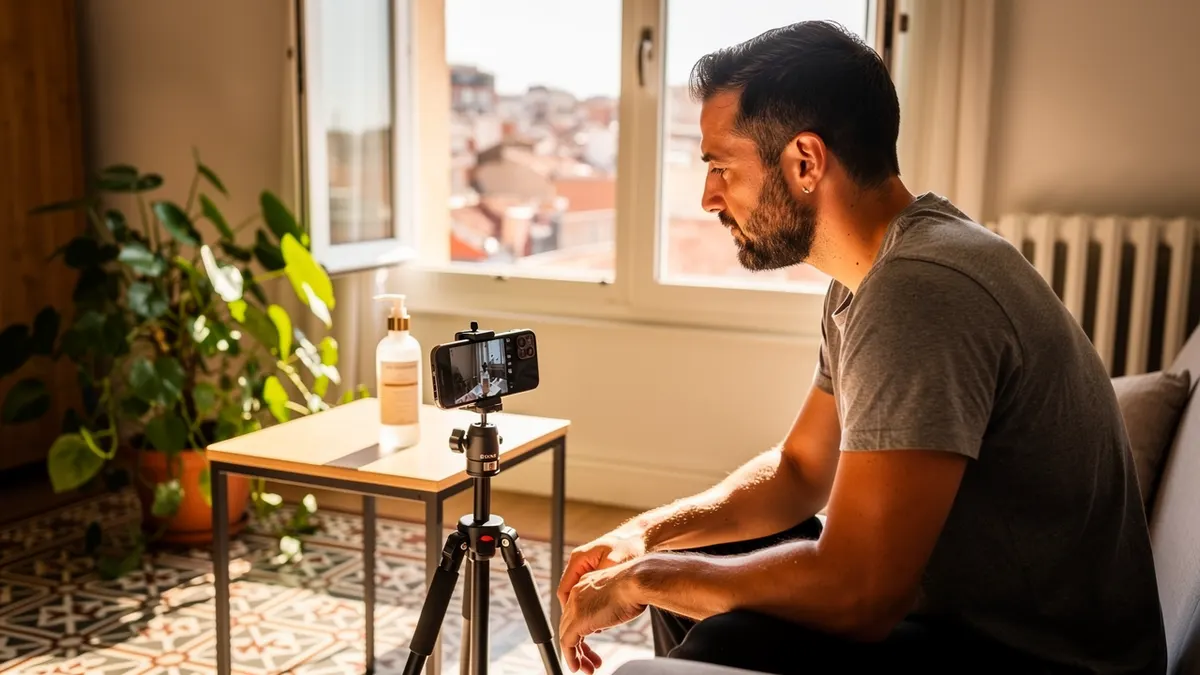
The basic setup holds in three points: the face turned towards the window, never with your back to it, enough distance to avoid half the frame being blown out, and a pale wall on the opposite side to bounce a little light back.
Taming the Mediterranean sun
Direct sun is your main enemy, not your ally.
It creates deep shadows under the eyes, it makes people squint, it burns out whites and it moves position while you are filming. What it needs is diffusing.
Three solutions, from free to paid: the blind described above, a thin white curtain, and a foldable diffuser placed in front of the glass. All do the same thing: enlarge the source to soften the shadow.
A fourth exists, often the best: do not film facing the sun, but in the next room, the one that receives the light without receiving it directly.
When to film
The slot depends on the orientation, not on the official hour.
In summer, the middle of the day gives a vertical, hard light, difficult for a face. Early morning and late afternoon give a soft but changing light, to be watched if the sequence runs long.
The useful marker: note over two days at what time your room is pleasant, and always film in that slot. It is worth more than any accessory.
What to buy when the window is not enough
Three purchases, in this order.
A reflector panel, which costs little and removes half the shadows.
A continuous light with a diffuser, adjustable in intensity, so as no longer to depend on the weather and to film in the evening.
And only then a second, weaker light, placed behind to separate the subject from the background.
Check that your lamps have the same tint. Two sources of different temperature give a face that is green on one side and orange on the other, and that cannot be repaired in the edit.
The mistakes that show immediately
Four, and they are frequent.
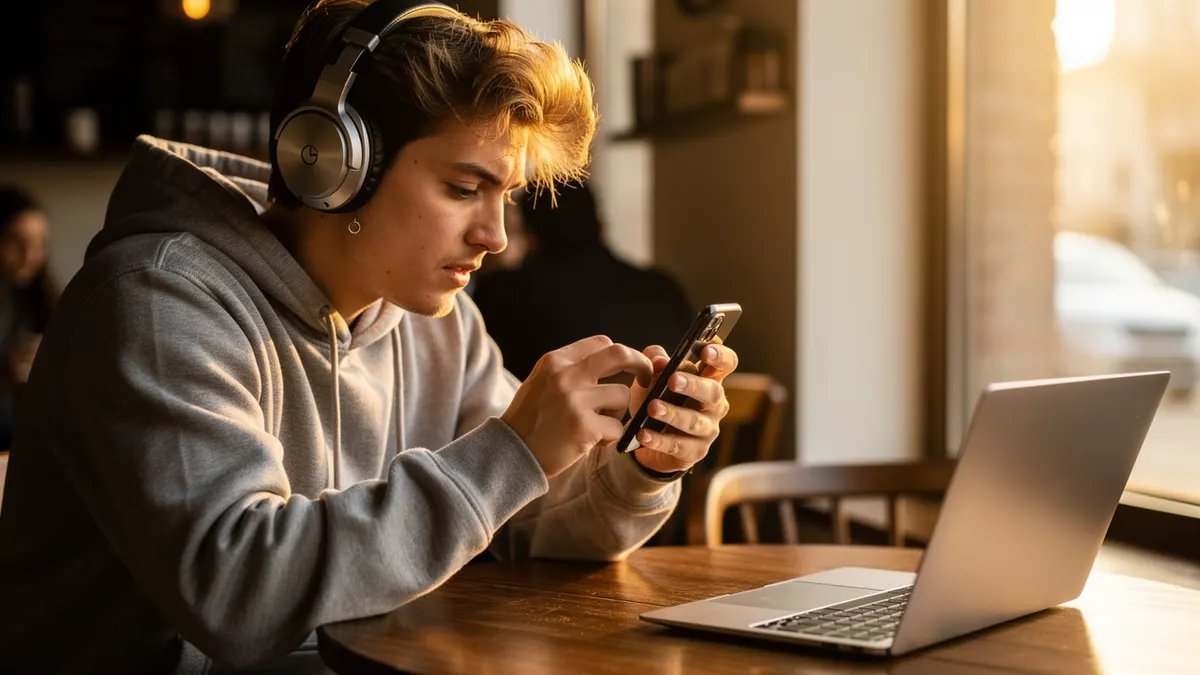
The ceiling light on, which manufactures dark circles. Your back to the window, which turns the face into a silhouette. Mixing daylight and a warm bulb in the same shot. And the light changing mid-sequence, when a cloud passes.
The product's light matters too
It is not the same as the face's.
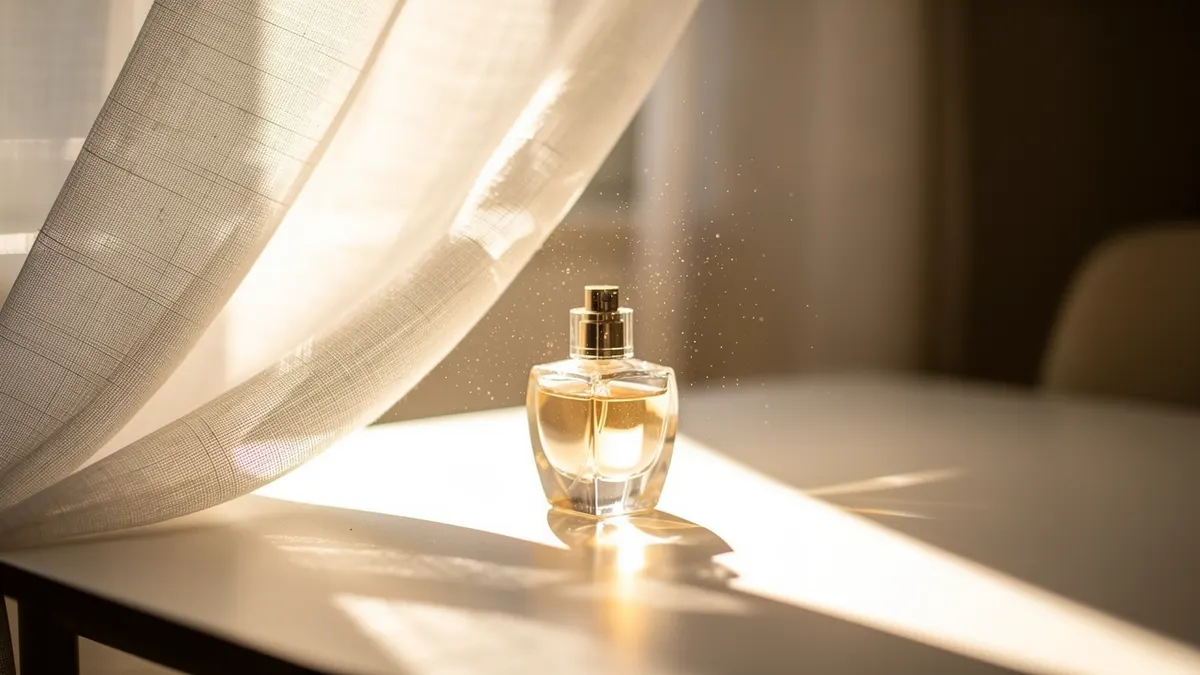
A shiny product reflects the source: you can see the window, the lamp, sometimes you. The answer is to enlarge and move the source away, or to turn the product slightly to shift the reflection.
A textured product asks for the opposite: a light coming from the side, almost grazing, which brings out the relief.
Four situations, four settings
| Situation | The source | What you correct |
|---|---|---|
| Midday outdoors | Direct sun | Move to open shade |
| Late afternoon | Raking light | Film facing the window |
| Kitchen in the evening | The yellow ceiling light | A white lamp from the side |
| Shop | The ceiling strip lights | A source close to the face |
What is set before filming
White balance on the room's real white, exposure on the face rather than the background, and locking both.
What the edit cannot rescue
A source behind the subject, a blown backlight, two light temperatures mixed in the same shot.
How to check
A simple test, before recording.
Film ten seconds, watch them on a phone at medium brightness, not on a large screen turned up to maximum. If the face is legible and the product has no awkward reflection, the light is good. If not, move a metre before changing equipment.